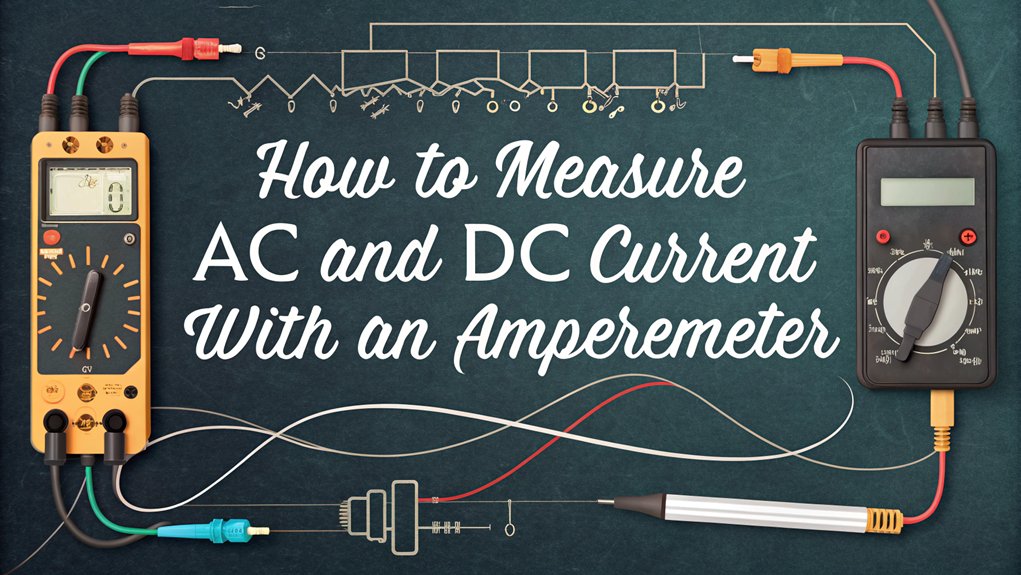

To measure AC or DC current with an amperemeter, start by ensuring the meter is correctly set for the type of current. For AC, use a clamp meter, setting it to the “A” position with the wave symbol, and center one wire in the clamp. For DC, set a traditional ammeter to the highest range, insert in series, and confirm the red lead connects to positive. Always prioritize safety by ensuring connections are correct and power is off. Learn further techniques as you proceed.
TLDR
- Ensure the amperemeter is set to the correct mode for AC or DC current measurement.
- For AC current, use a clamp meter and center the wire within the clamp jaws.
- For DC current, connect the ammeter in series with the circuit using the correct polarity.
- Always start with the amperemeter set to the highest current range to prevent damage.
- Confirm the circuit is de-energized before inserting or removing the amperemeter.
Understanding the Basics of Current Measurement
When you’re delving into the basics of current measurement, it’s vital to understand that current refers to the rate at which electrons flow through a circuit, quantified in amperes (A).
You’ll encounter two main types: alternating current (AC), which changes direction, and direct current (DC), which flows in one direction.
To measure current, a digital multimeter (DMM) is a valuable tool. You must connect it in series with the circuit, making certain the test leads are correctly placed, with red in the “A” port.
Always set the DMM to the right range before you measure current.
Choosing the Right Amperemeter for Your Needs
Now that you’re familiar with the fundamentals of current measurement, it’s important to choose an amperemeter that suits your specific needs.
Determine whether you need to measure AC, DC, or both, as some amperemeters are specialized for one type, while others offer dual functionality.
Look for features like true RMS measurement capability to guarantee accurate readings, especially for non-sinusoidal AC waveforms.
Consider the amperemeter’s current range to match your application’s requirements, accommodating low to high amperages.
Prioritize safety by selecting a model with built-in overcurrent protection and fuses.
Finally, review the amperemeter’s response time and accuracy specifications, as these are critical for reliable current measurements in various scenarios.
A carefully chosen amperemeter enhances both precision and safety in your electrical assessments.
Preparing Your Amperemeter for Use
Before you start using your amperemeter, it’s crucial to prepare it properly to guarantee accurate and safe measurements.
Begin by setting the amperemeter to its highest current range to prevent damage when you first measure current. Select the appropriate mode for measuring either AC or DC current, ensuring the digital display is set correctly. Check the amperemeter’s internal fuse for functionality, as a blown fuse can lead to inaccurate readings or circuit damage.
Always power off the circuit and disconnect the battery before you break the circuit to insert the amperemeter. This prevents potential hazards.
When connecting, use color-coded leads: attach the negative lead (black) to the power source side and the positive lead (red) to the opposite side of the break.
Measuring AC Current With a Clamp Meter
To accurately measure AC current with a clamp meter, start by setting the meter’s dial to the “A” position marked with a wave symbol, which signifies it’s configured for alternating current.
Next, open the clamp jaws and position the wire you wish to measure inside, ensuring it’s centered. This allows the clamp meter to measure the current using the magnetic field generated by the wire’s AC flow.
Remember, only measure one wire at a time to avoid errors or damage. Verify the clamp meter’s current rating to match the expected current from the power supplies, ensuring accurate and safe operation.
Clamp meters, using transformer principles, excel at measuring current in AC circuits, offering precision and safety.
Measuring DC Current With a Traditional Ammeter
Although measuring DC current might seem intimidating at first, employing a traditional ammeter can make the process straightforward and effective.
Begin by setting the ammeter to the highest range to prevent damage from unexpected current levels. Disconnect the circuit, then insert the ammeter leads in series, ensuring the red lead connects to the positive side and the black lead to the negative.
Verify the circuit is de-energized before any wire disconnection to avoid electrical shock. Once connected, restore power to the circuit.
Observe the ammeter display for the current reading, adjusting the range for accuracy if needed. After measuring, turn off the power again to safely remove the ammeter and reestablish the circuit’s original state.
Safety Precautions and Best Practices
After mastering the technique of measuring DC current with a traditional ammeter, it’s critical to emphasize safety precautions and best practices to ascertain an accurate and secure measurement process.
Always turn off the power to the circuit before connecting or disconnecting the ammeter to prevent electrical shock or device damage.
Utilize the digital multimeter’s appropriate settings, making sure AC or DC mode aligns with the current type you’re measuring.
Confirm the ammeter’s internal fuse is functional to avoid incorrect current measurements.
Focus on measuring one wire at a time, reducing the risk of short circuits.
Wear safety gloves and maintain a safe distance from live wires, enhancing your protection against electrical hazards.
These steps ascertain a safe and precise measurement experience.
Troubleshooting Common Measurement Issues
When facing measurement issues, precise troubleshooting steps guarantee reliable results. Start by confirming your ammeter is set to the correct mode, AC or DC, to prevent inaccurate readings or device damage.
Before measuring the current, always check the ammeter’s internal fuse for functionality; a blown fuse hampers precise current readings and suggests potential circuit issues.
- Verify the ammeter is within its rated capacity.
- De-energize the circuit before inserting the ammeter to avoid shocks or damage.
- Center the wire within clamp jaws if using a digital clamp ammeter, and never clamp multiple wires.
- For inconsistent readings, double-check all connections.
- Verify the circuit functions properly without faults.
These troubleshooting tips help maintain accurate measurements of your circuit’s current.
Exploring Additional Resources and Tools
While exploring additional resources and tools for measuring electrical current, it is crucial to utilize the right equipment and materials that enhance your understanding and skill set. Start by selecting the correct clamp meter: use one for AC based on transformer principles or a DC clamp meter with Hall effect sensors. Digital multimeters (DMMs) are invaluable; remember, they require two probes connected in series to measure the flow of electricity accurately.
| Tool | Purpose | Key Feature |
|---|---|---|
| AC Clamp Meter | Measures AC current | Transformer-based technology |
| DC Clamp Meter | Measures DC current | Hall effect sensors |
| Digital Multimeter | Measures AC/DC with two probes | Series connection for current flow |
Check the manufacturer’s specs before use. Video tutorials are excellent for one test that visually demonstrates effective ammeter usage.
Frequently Asked Questions
Can Ammeter Measure Both AC and DC?
Yes, you can measure both AC and DC currents with an ammeter, but you need to use the correct type.
For AC, choose an AC-specific ammeter or a true RMS ammeter for accuracy in non-sinusoidal waveforms.
To measure DC, make sure the ammeter supports DC current, like those with Hall effect sensors.
Always verify the ammeter’s specs to match the current type you’re measuring to prevent errors or damage.
How Do You Measure AC Current With an Ammeter?
To measure AC current with an ammeter, start by selecting the suitable setting, symbolized by an “A” and a wave.
Safely sever the circuit, slipping the ammeter in series for precise readings.
Consider using a clamp ammeter for convenient, contact-free measurements.
Commence with the highest current range, carefully calibrating downwards for exactitude.
Conclude by cutting power before disconnecting, ensuring safety.
How to Measure AC and DC Current Using a Multimeter?
To measure AC and DC current with a multimeter, start by verifying the circuit’s de-energized.
Set the multimeter to the appropriate mode: DC or AC. Connect the red lead to the “A” port and the black lead to “COM.”
Insert the probes in series with the circuit. Begin at the highest current range, then adjust for accuracy.
Ascertain the internal fuse is intact and measure across one wire at a time for correct readings.
How Do You Measure Both AC and DC?
Imagine you’re the conductor of an electrical symphony, orchestrating measurements with precision. Set your ammeter to AC or DC mode like a maestro choosing instruments.
For AC, connect in series with a live wire; for DC, make certain polarity sings in harmony. Start with the highest range, then fine-tune for clarity.
Clamp meters embrace wires like a gentle hug, measuring current without disruption. Always follow safety protocols to keep the performance flawless.
Conclusion
To summarize, mastering the use of an amperemeter is like tuning a musical instrument; precision and practice lead to harmony in measurements. Whether you’re using a clamp meter for AC or a traditional ammeter for DC, selecting the right tool and following safety protocols guarantees accurate results. By understanding the basics and troubleshooting effectively, you can confidently measure currents. Keep exploring additional resources to refine your skills and make certain your electrical endeavors are consistently successful.